Setting water hardness
If desired, the interval between descaling cycles can be increased so that descaling is performed less
frequently and in accordance with the actual calcium content of the water used. Proceed as follows:
• Remove the "Total hardness test" water hardness strip from its packaging (attached to page 2),
immerse it fully in the water for a few seconds. Next, remove it and wait around 30 seconds (until it
changes colour and red squares appear on the strip).
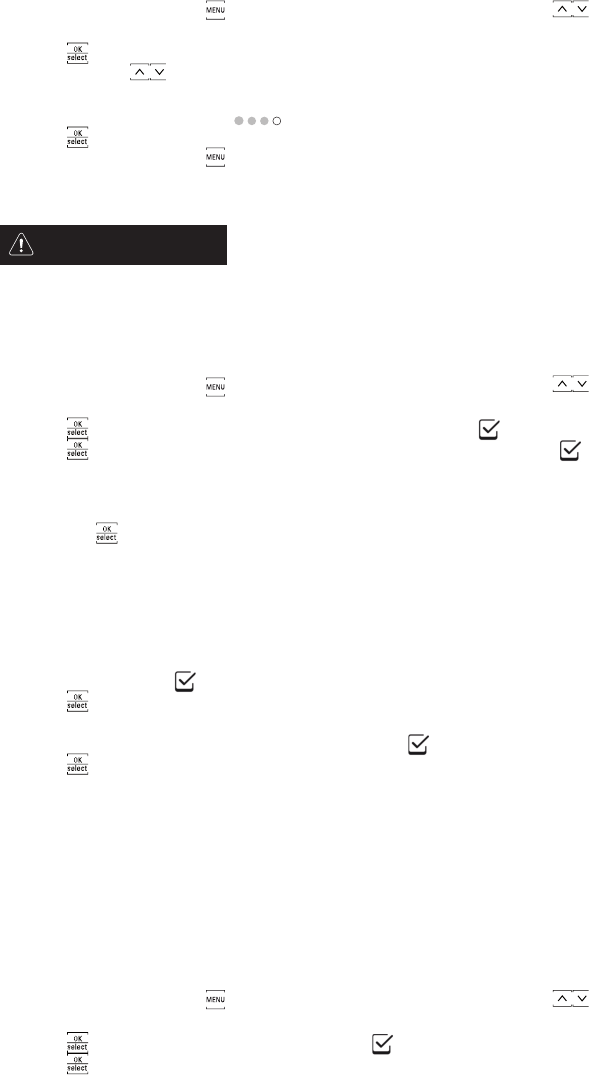
• Press the MENU button (B2) to access the menu and then buttons (B5) and (B6) until the
display shows the message WATER HARDNESS.
• Press (B7).
• Press buttons (B5) and (B6) to select the number of dots corresponding to the number of red
squares which have formed on the test strip (for example, if the test strip shows 3 red squares, you
need to select the message );
• Press (B7) to confirm. The machine is now set to carry out descaling when it is actually necessary.
• Press the MENU button (B2) to exit the menu.
Descaling
Descaler contains acids. Observe the manufacturer's safety
warnings given on the descaler pack.
N.B.: Only use descalers recommended by the manufacturer. Failure to do so invalidates the machine
warranty. Failure to descale the machine regularly will also invalidate the warranty.
When the display shows the message DESCALE!, it is time to descale the machine. Proceed as follows:
• Make sure that the machine is ready for use.
• Attach the water spout (C7) to the nozzle (A10).
• Press the MENU button (B2) to access the menu and then buttons (B5) and (B6) until the
display shows the message DESCALING.
• Press (B7), the display shows the message DESCALING. TO CONFIRM.
• Press (B7), the display shows the message ADD DESCALER. PRESS .
• Empty the water tank, pour in the contents of the bottle of descaler, taking care to observe the
manufacturer's instructions on the label. Place a container with a capacity of approx. 2 litres
underneath the hot water spout.
• Press the button (B7); the descaling solution runs out of the hot water spout and starts to fill the
container below. The message DESCALING UNDERWAY... is displayed.
• The descaling programme automatically follows a series of run-offs and pauses.
• After approximately 30 minutes, the display shows the message RINSING. FILL TANK!.
• Empty the water tank, rinse it thoroughly to eliminate all traces of descaler and then fill it again with
clean water.
• Fit the tank full of clean water back in the machine. The display shows the message RINSING
COMPLETE. PRESS .
• Press again (B7). Hot water runs out of the spout, filling the container, and the message RINSING
PLEASE WAIT... is displayed.
• Wait for the message RINSING COMPLETE. PRESS .
• Press (B7). The display shows the message DESCALING COMPLETE. The appliance goes off
automatically.. Fill the tank again with clean water.
• The descaling programme is now complete and the machine is ready to prepare coffee again.
N.B.: if you interrupt the descaling cycle before it has been completed, you will have to start again from
the beginning.
N.B.: FAILURE TO DESCALE THE MACHINE REGULARLY WILL INVALIDATE THE MACHINE
WARRANTY.
Resetting factory default values (reset)
To restore the machine's original default values (even after they have been changed), proceed as
follows:
• Press the MENU button (B2) to access the menu and then buttons (B5) and (B6) until the
display shows the message DEFAULT VALUES.
• Press (B7), the display shows the message TO CONFIRM.
• Press (B7) to restore factory settings.
WARNING:
20


 (72 pages)
 (28 pages)
 Manymanuals.com
 Manymanuals.de
 Manymanuals.fr
 Manymanuals.it
 Manymanuals.pl
 Manymanuals.cz
 Manymanuals.es
 Manymanuals-pt.com
Commentaires sur ces manuels