Hotpoint RGB532 Manuel d'utilisateur Page 37
- Page / 44
- Table des matières
- MARQUE LIVRES
- Your Range 1
- HELP US HELP YOU… 2
- IF YOU NEED SERVICE 3
- IMPORTANT SAFETY INSTRUCTIONS 3
- WARNING— 4
- Important Safety Instructions 5
- SAVE THESE 7
- INSTRUCTIONS 7
- FEATURES OF YOUR RANGE 8
- Features of Your Range 9
- CLOCK AND TIMER 10
- HOW DOES THIS COOKTOP COMPARE 11
- TO YOUR OLD ONE? 11
- SURFACE COOKING 11
- Surface Cooking 13
- USING YOUR OVEN 14
- Using Your Oven 15
- Preheating Pan Placement 16
- Oven Shelves 16
- Baking Guides 17
- Cookies Aluminum Foil 17
- Pies Cakes 17
- Baking Pans Don’t Peek 17
- ADJUST THE OVEN THERMOSTAT— 18
- DO IT YOURSELF! 18
- ROASTING 19
- ROASTING GUIDE 20
- BROILING 21
- BROILING GUIDE 22
- CARE AND CLEANING 23
- Care and Cleaning 25
- INSTALLATION INSTRUCTIONS 30
- (continued next page) 33
- ELECTRICAL CONNECTIONS 35
- Grounding 35
- Electric Disconnect 36
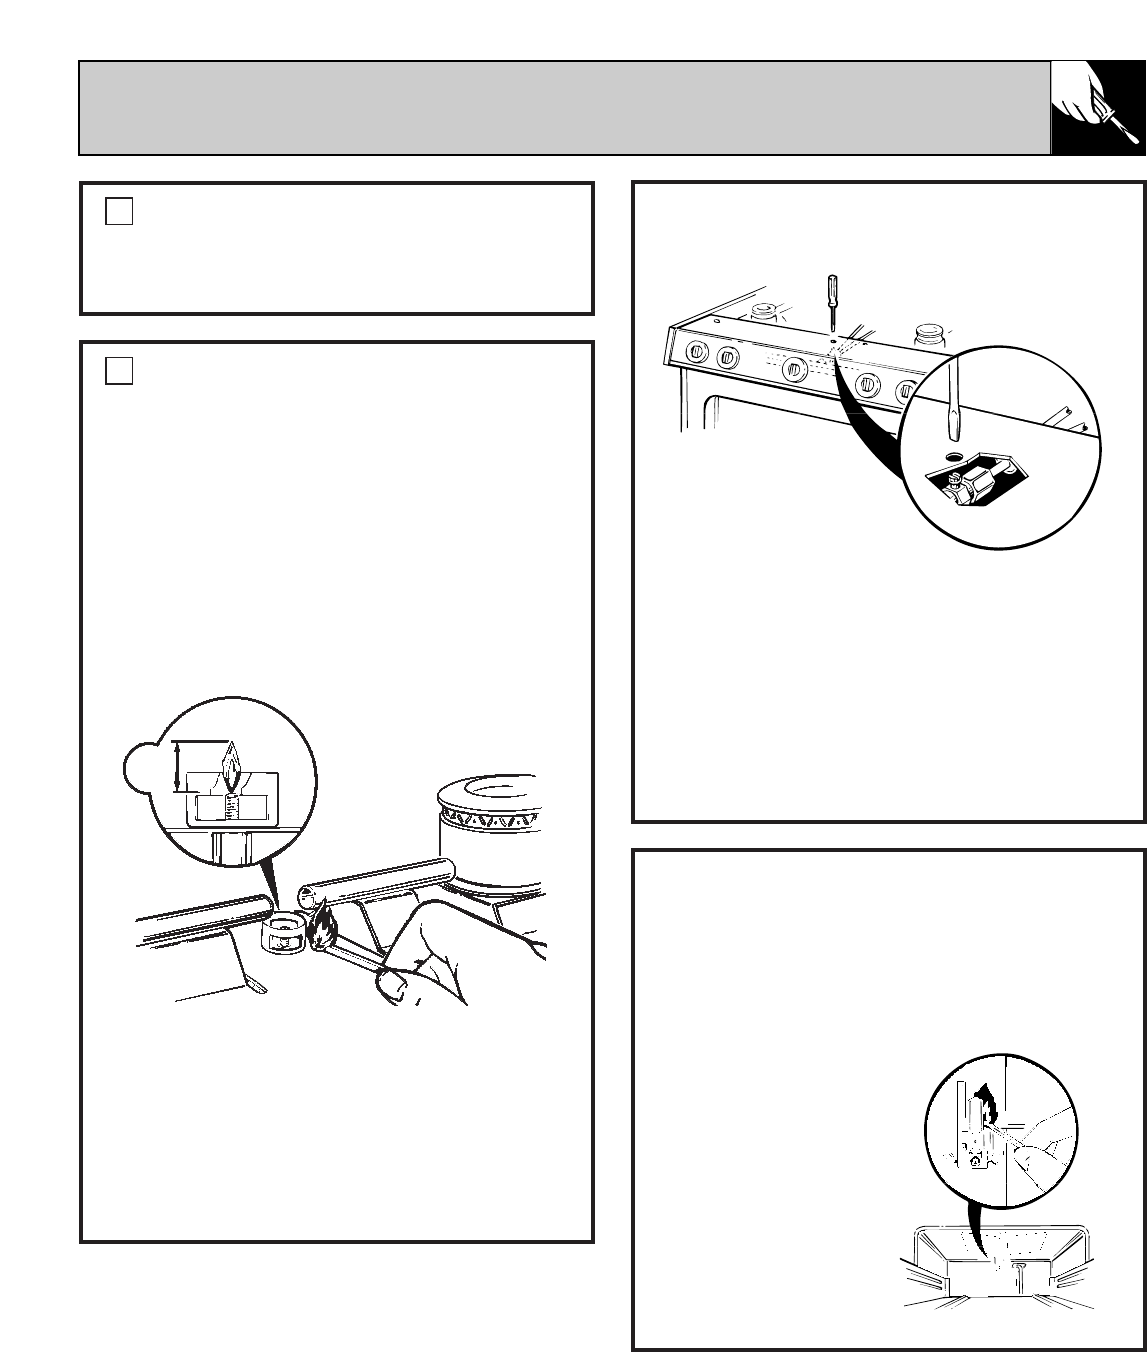
- LEVELING THE RANGE 39
- ADJUSTING THE OVEN BURNER AIR 39
- ADJUSTMENT SHUTTER 39
- QUESTIONS? 41
- BEFORE YOU CALL FOR SERVICE… 41
- We’ll Be There 43
- 1-97 CG 44
Produits connexes et manuels pour Radio Hotpoint RGB532
 (52 pages)
(24 pages)
(20 pages)
(16 pages)
(40 pages)
(56 pages)
(36 pages)
(32 pages)
(52 pages)
(24 pages)
(20 pages)
(16 pages)
(40 pages)
(56 pages)
(36 pages)
(32 pages)
© 2020, manymanuals.fr. Tous droits réservés | 3.264 s |
 Manymanuals.com
 Manymanuals.de
 Manymanuals.fr
 Manymanuals.it
 Manymanuals.pl
 Manymanuals.cz
 Manymanuals.es
 Manymanuals-pt.com
Commentaires sur ces manuels